Struck Autos
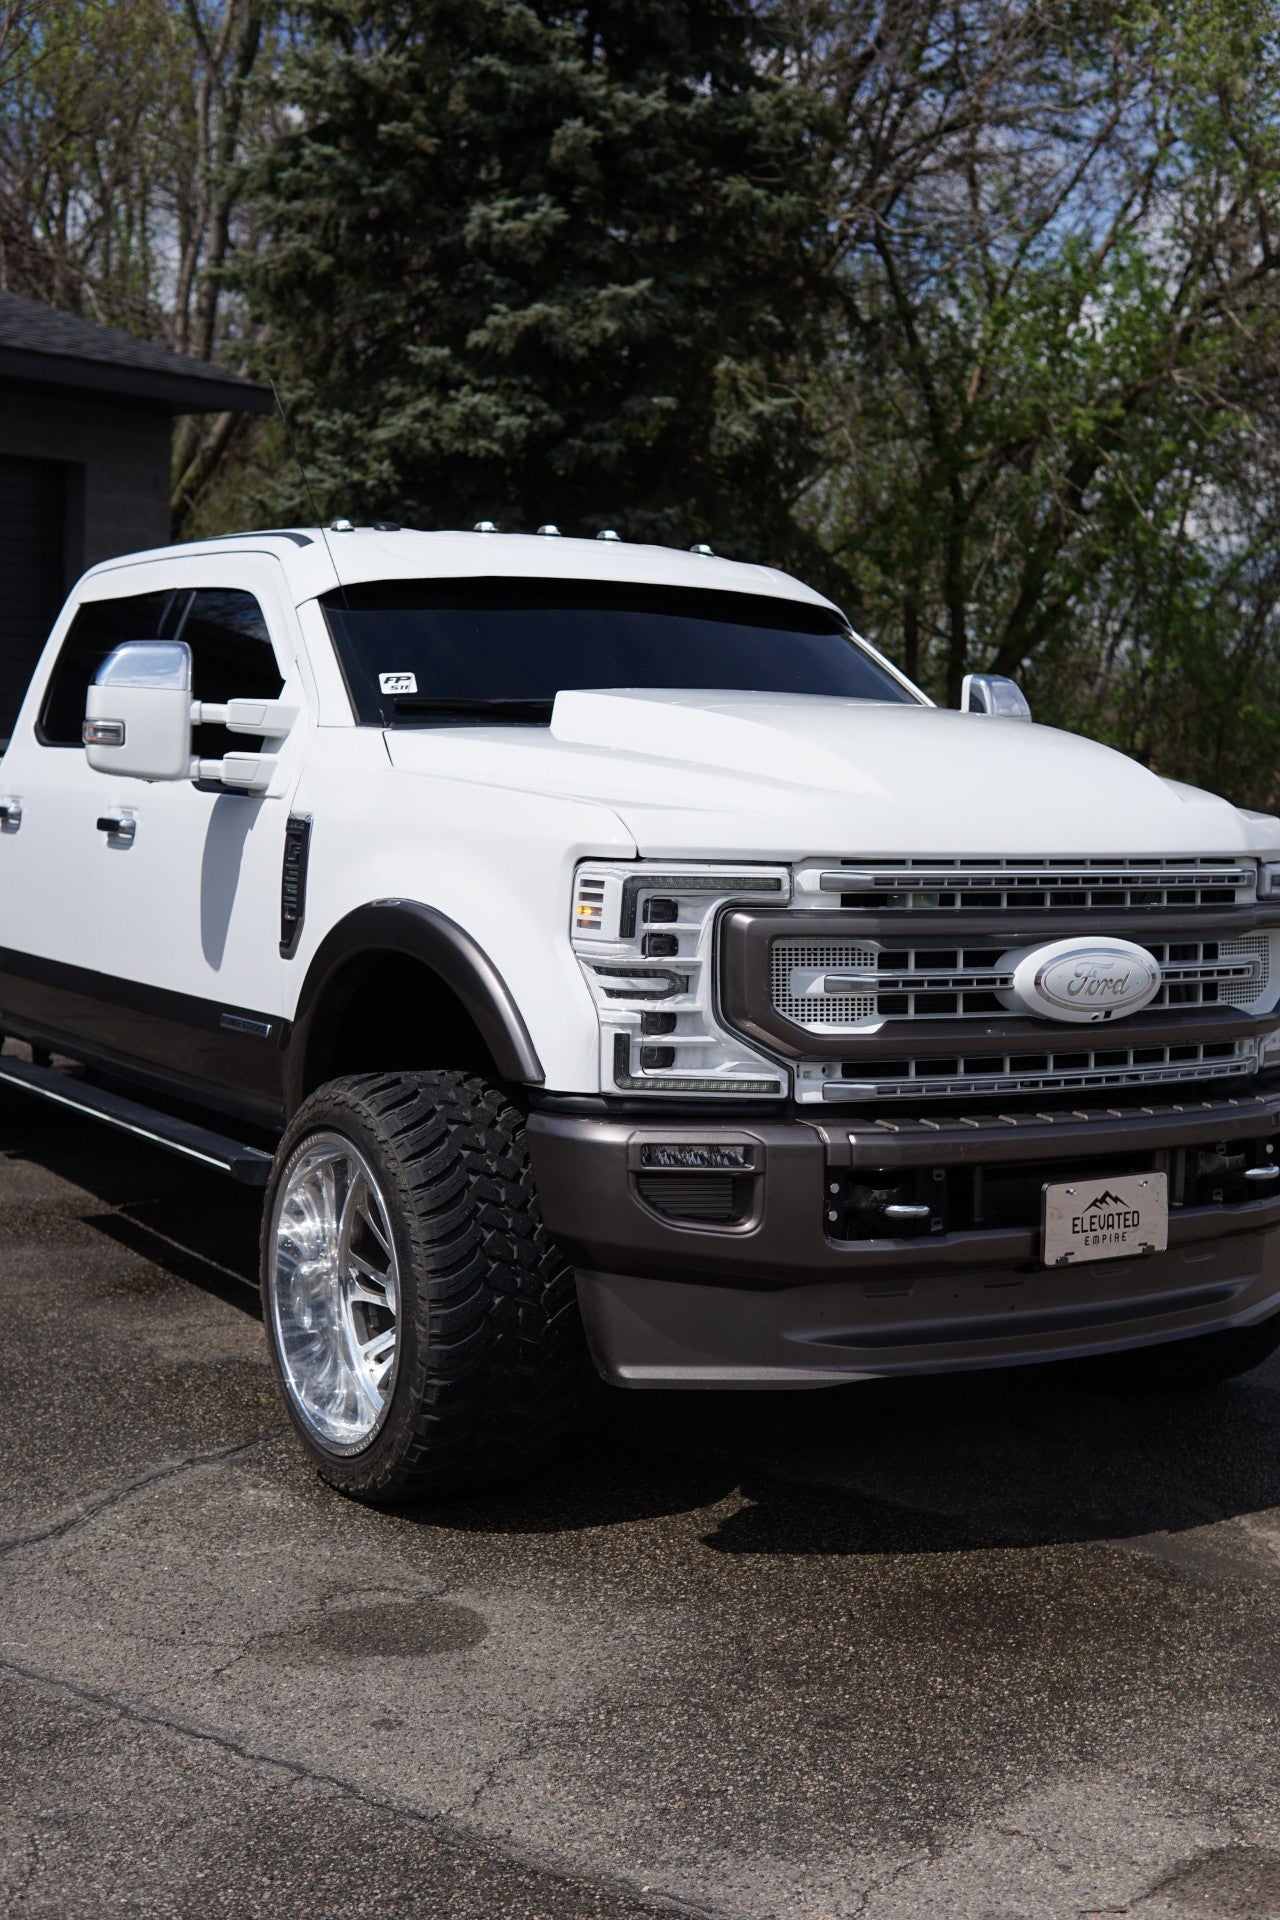
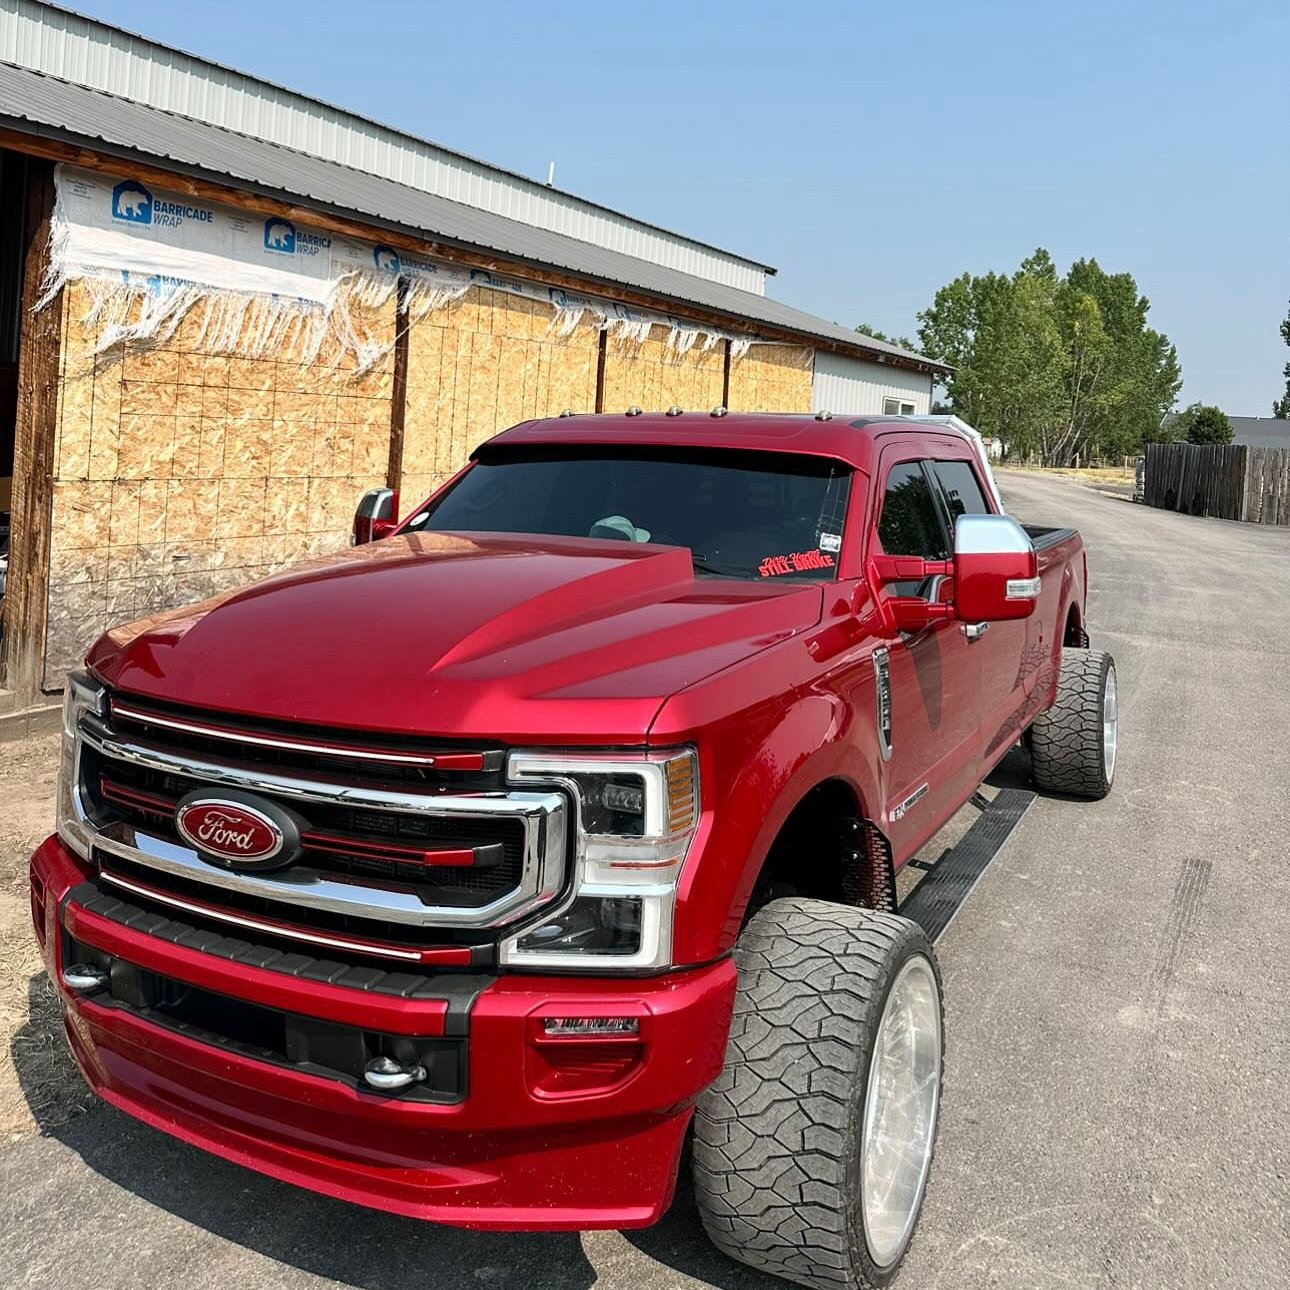
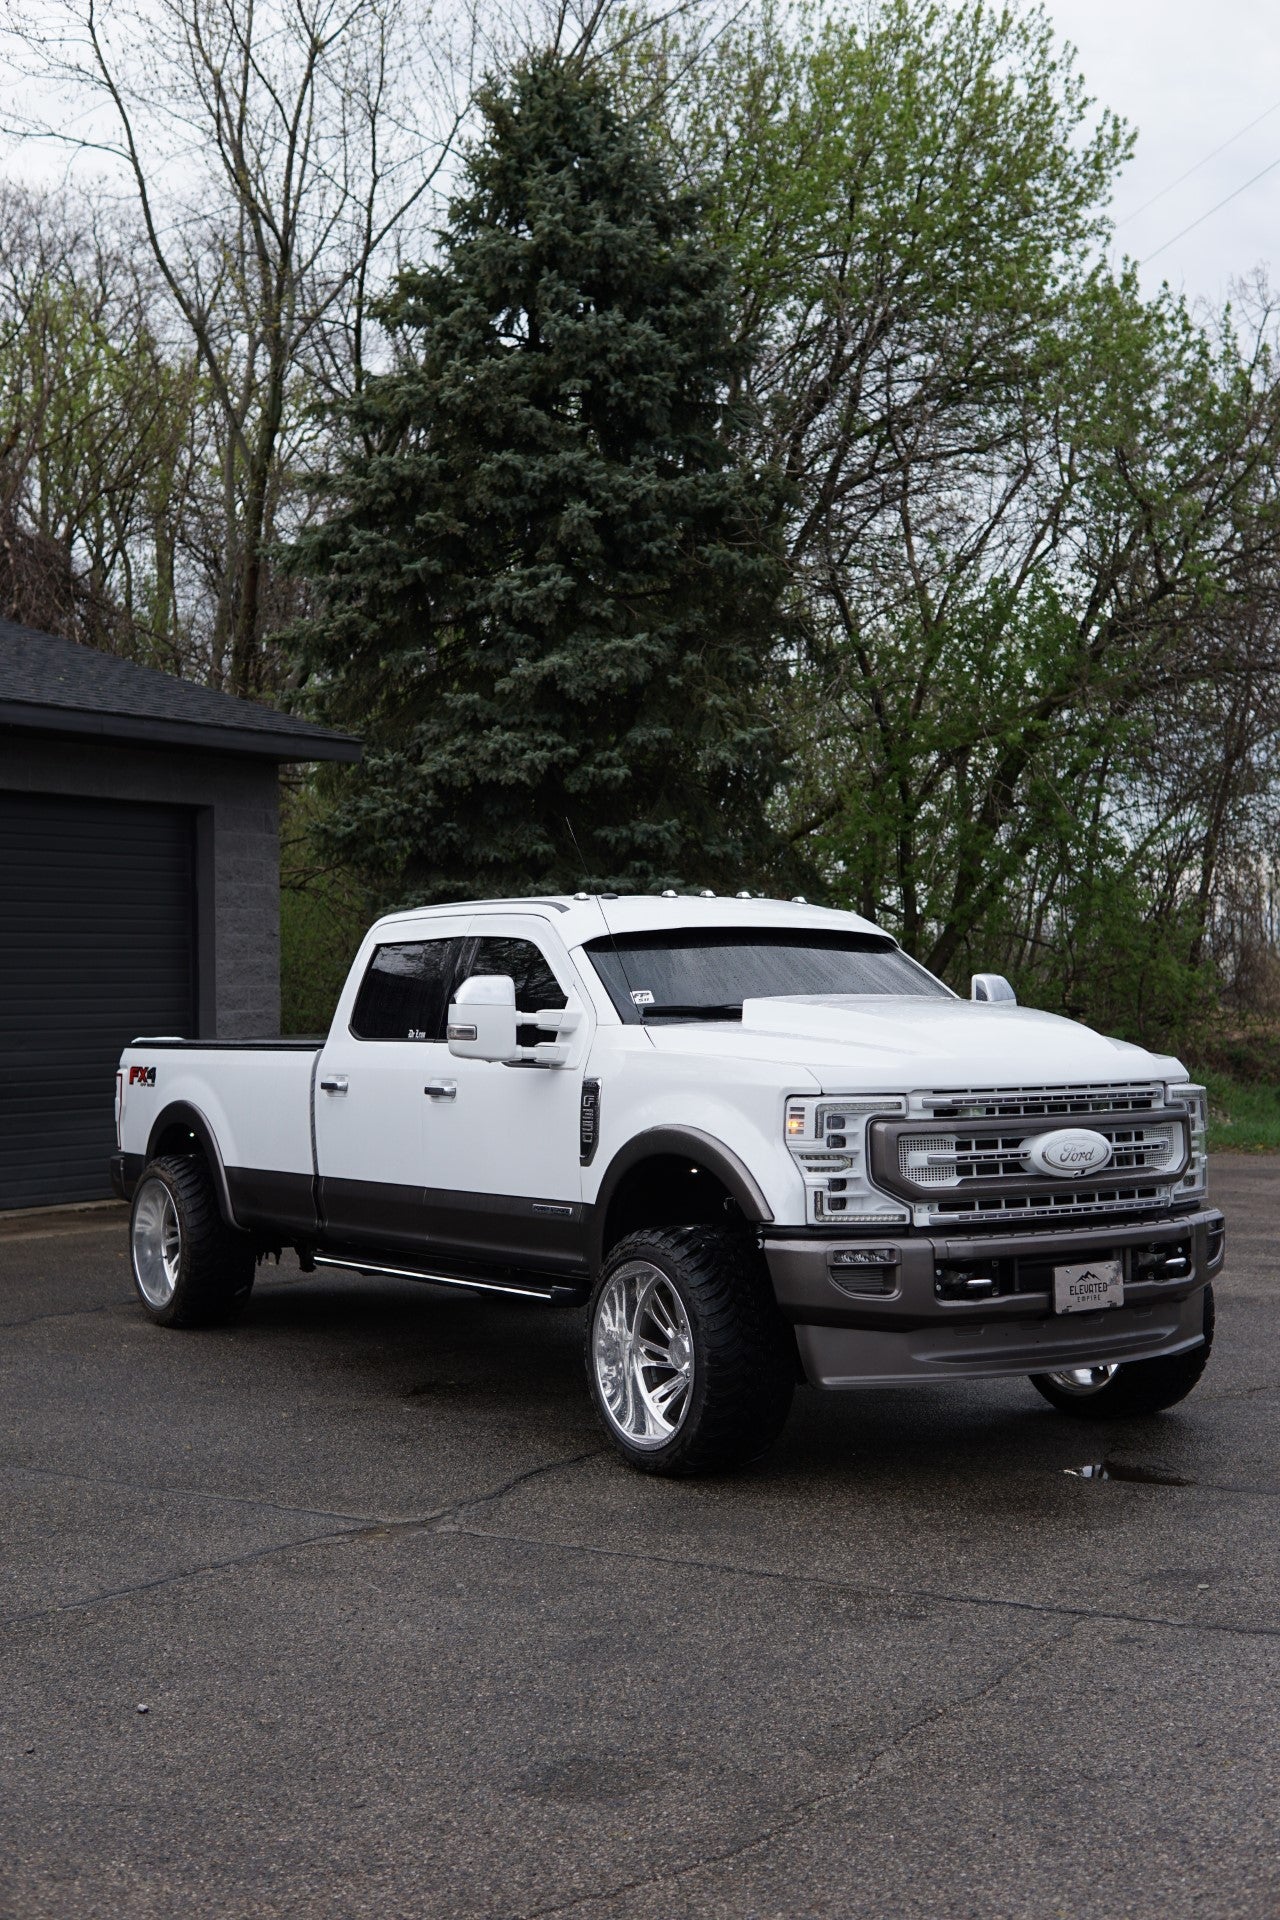
2017-2026 Ford Super Duty Drop Windshield Visor – Fiberglass
2017-2026 Ford Super Duty Drop Windshield Visor – Fiberglass
Couldn't load pickup availability
IMPORTANT — PROFESSIONAL INSTALLATION RECOMMENDED
This is a hand-laid fiberglass aftermarket component. Test fitting, fiberglass preparation, painting, drilling and adhesive installation are part of the installation process. Professional body-shop preparation and installation are recommended.
Installation Guide — Professional Installation Recommended
[View/Download Installation Instructions]
FORD SUPER DUTY DROP WINDSHIELD VISOR
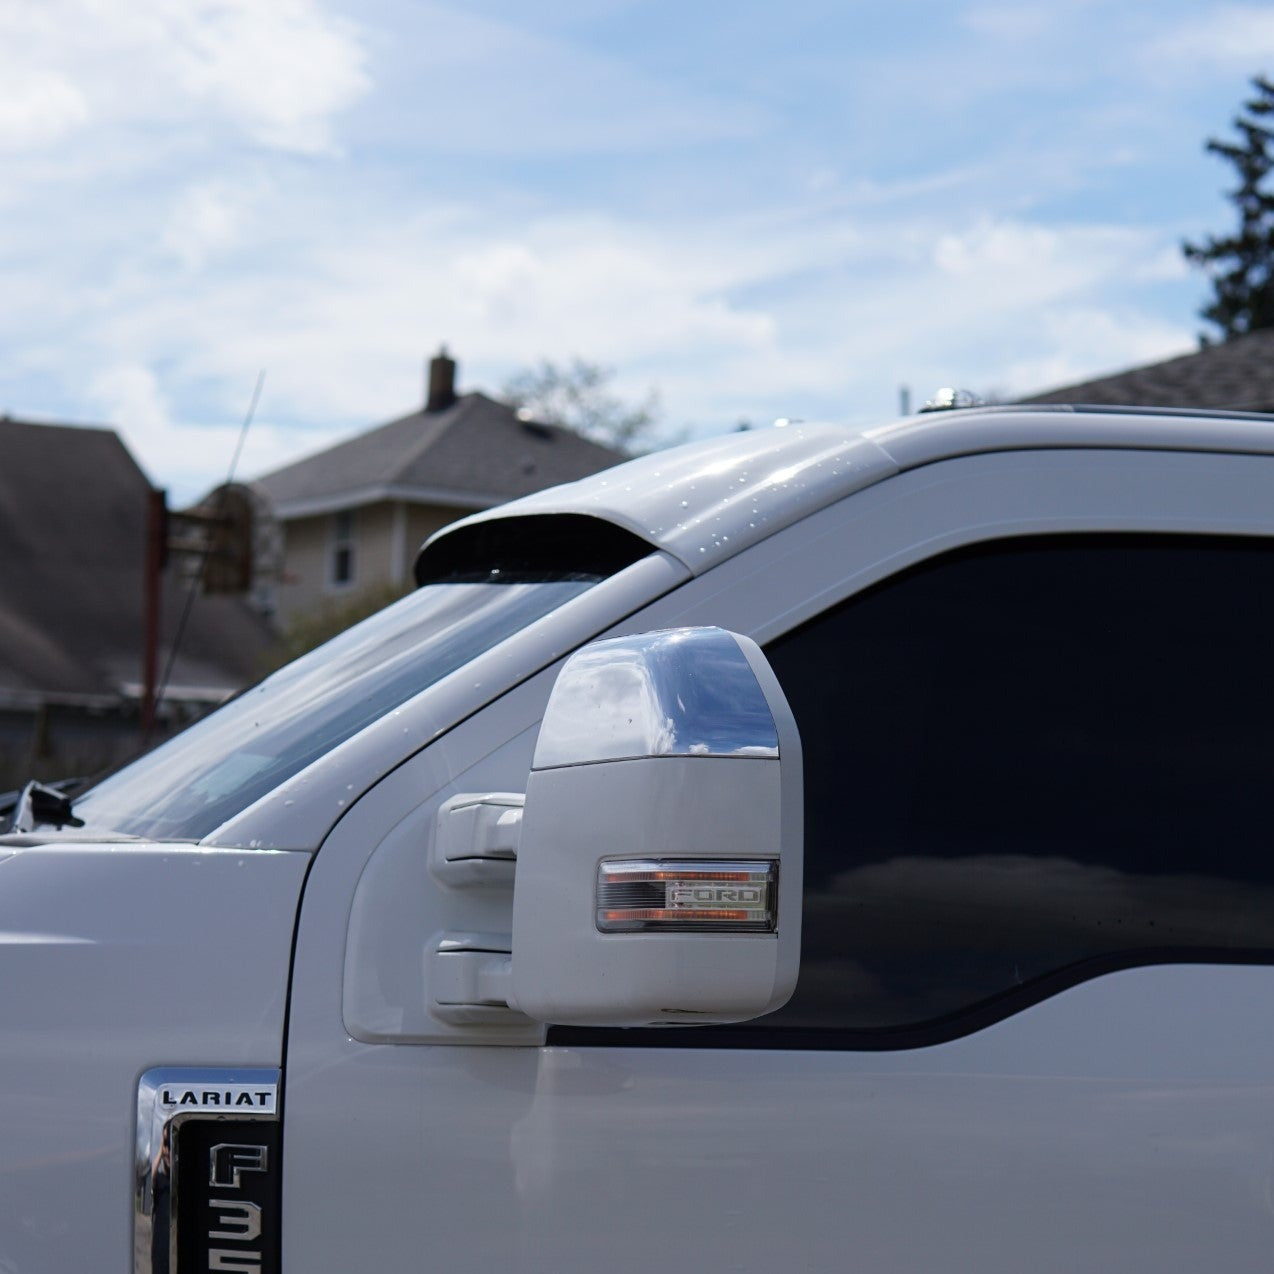
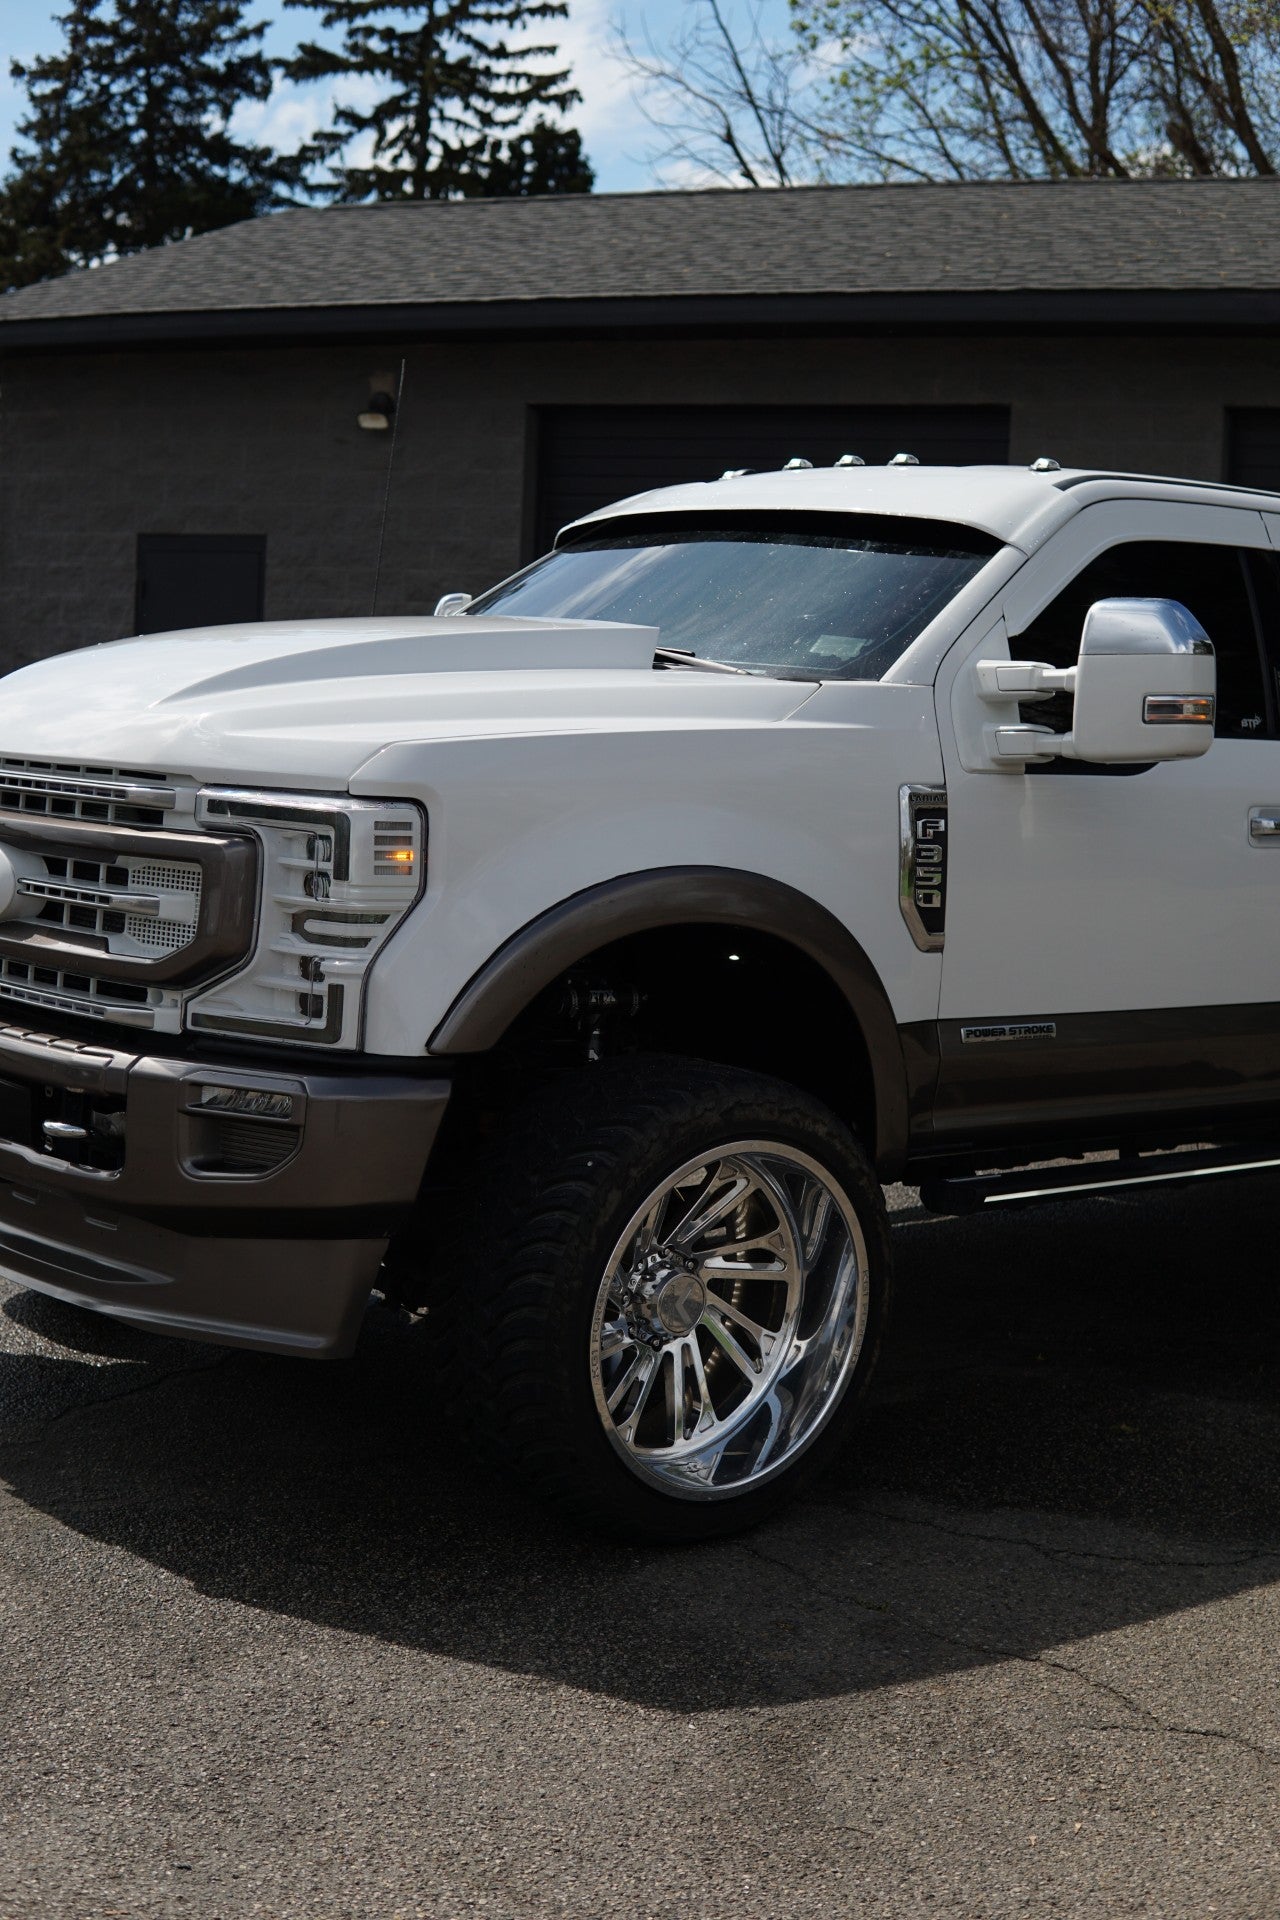
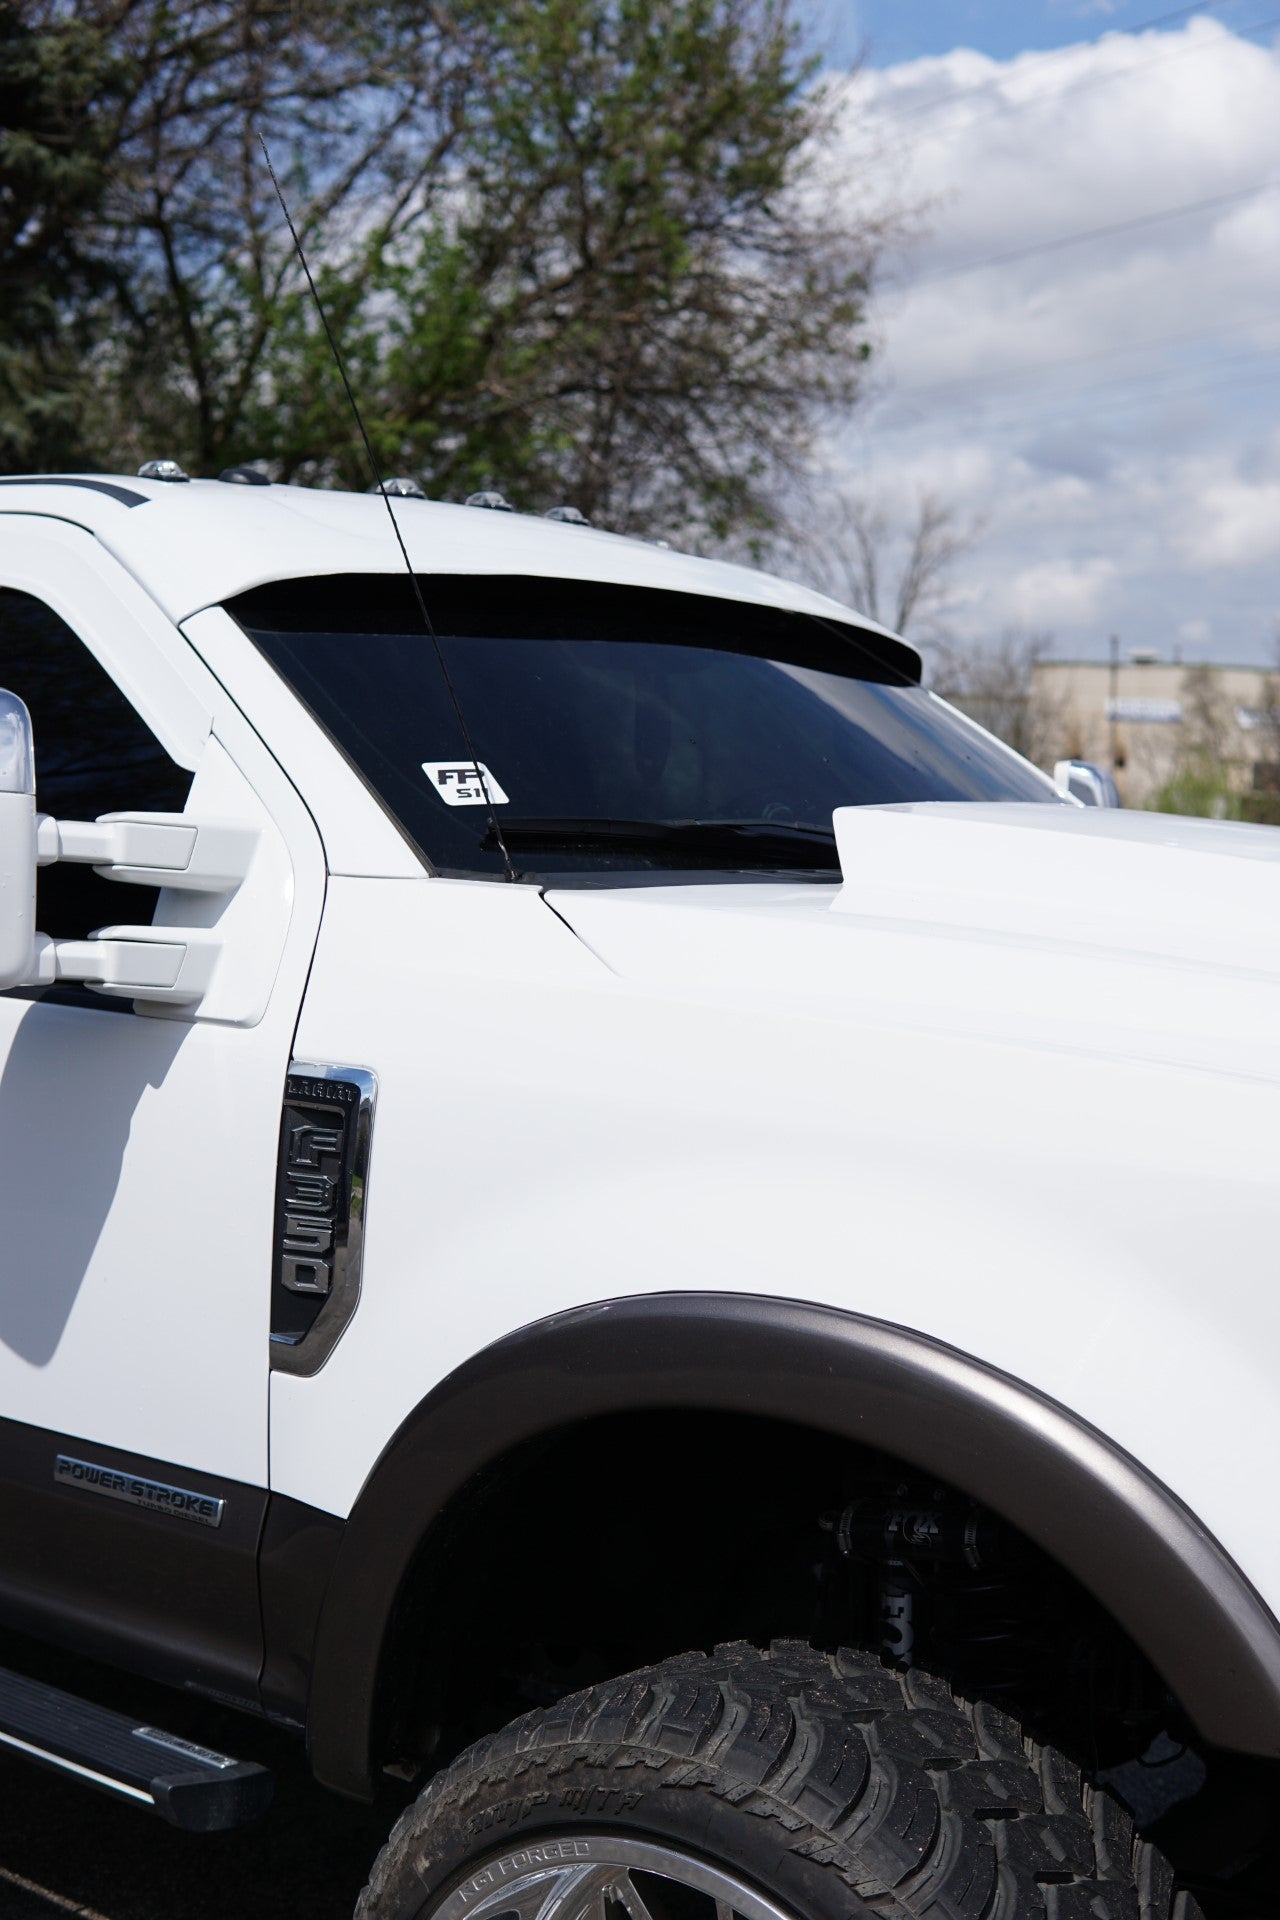
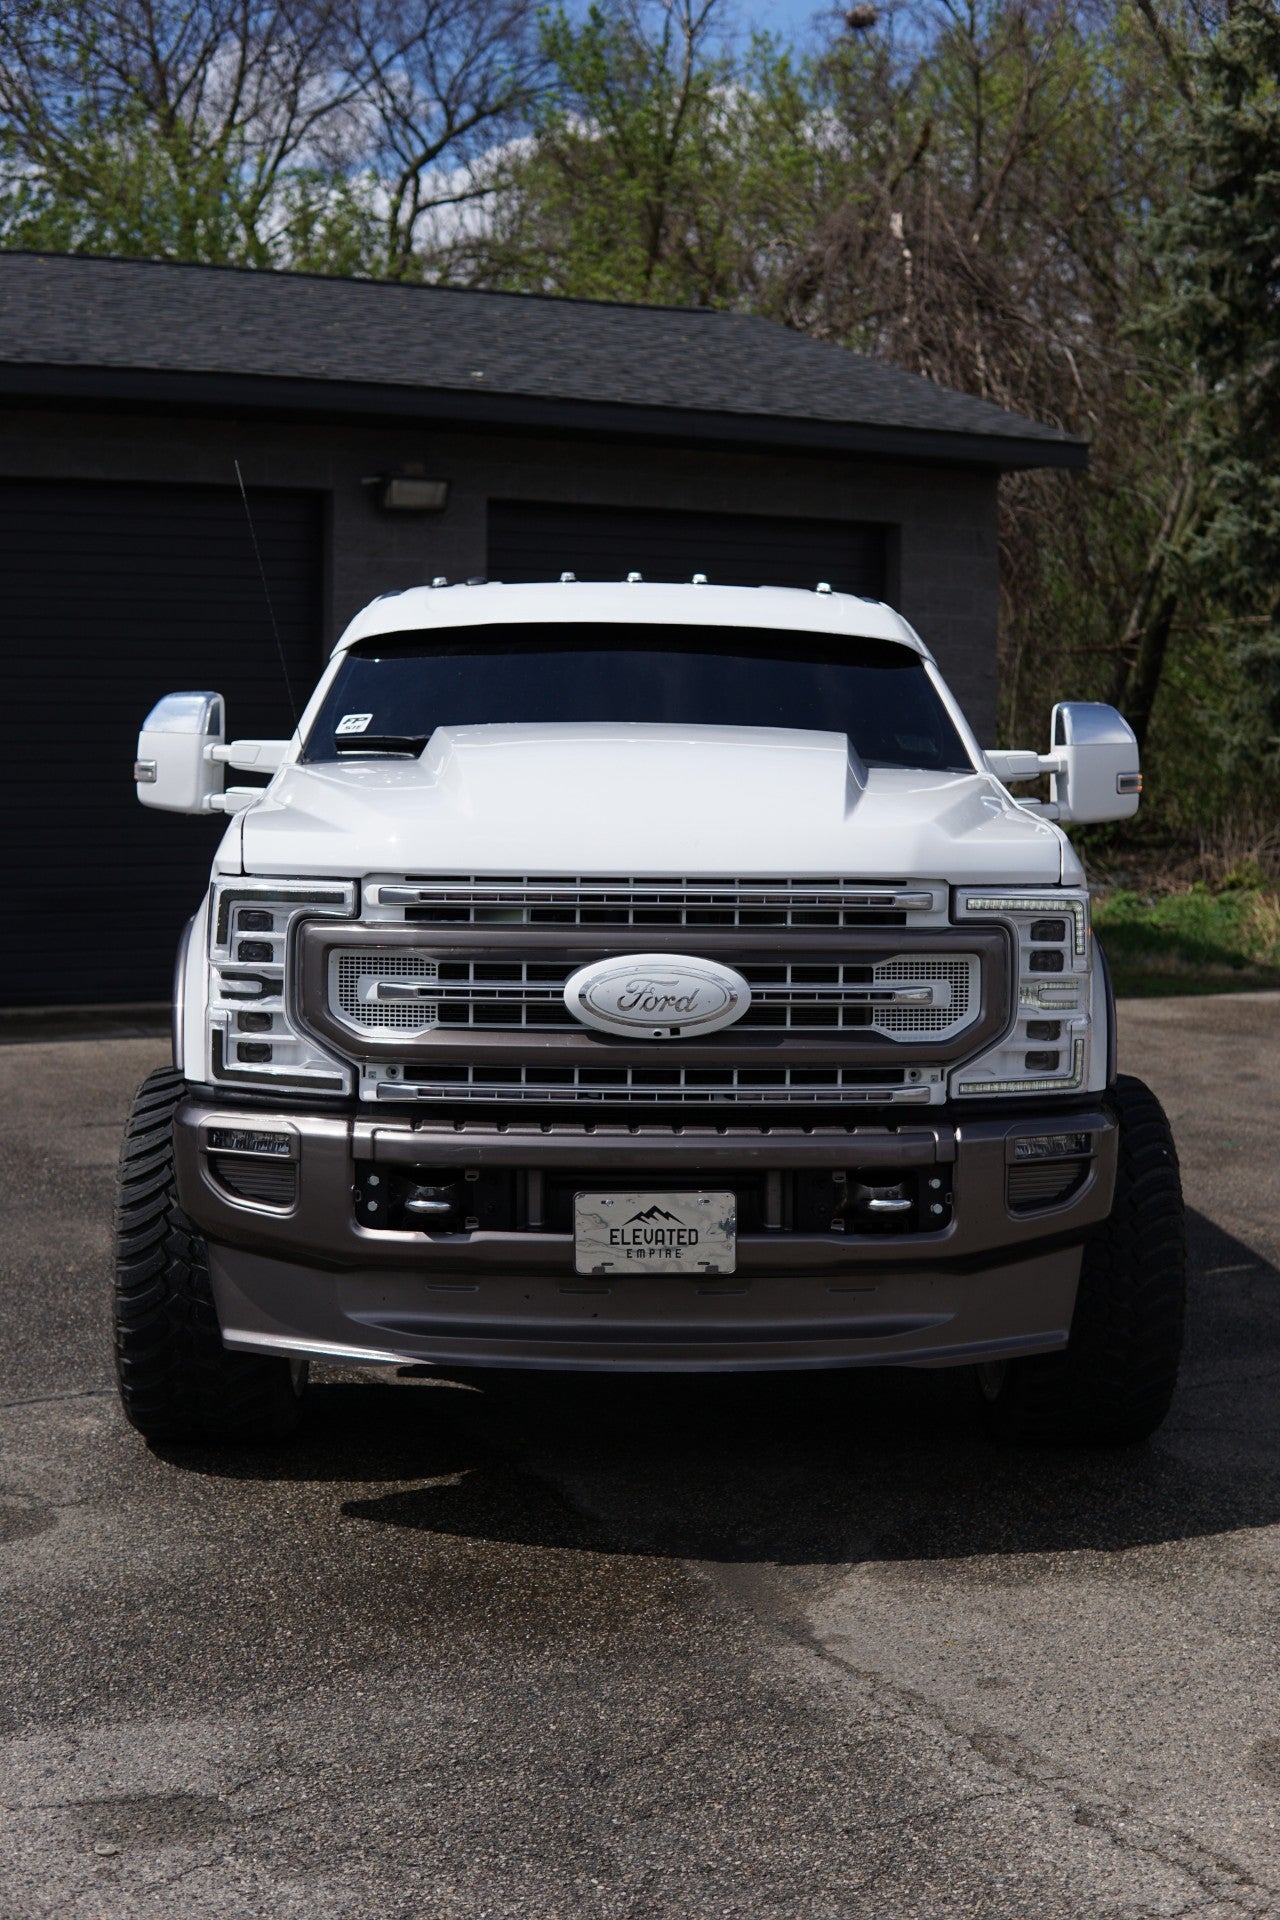
Give your Ford Super Duty a substantially more aggressive custom appearance with this approximately 10-inch-tall fiberglass drop windshield visor.
This visor is designed as a custom aftermarket fiberglass body component and should be treated similarly to a fiberglass hood or other fiberglass body panel. Proper test fitting, preparation, finishing and installation are important to achieving the best final result.
KEY FEATURES
- Approximately 10-inch overall height
- Approximately 7–8-inch drop down the windshield
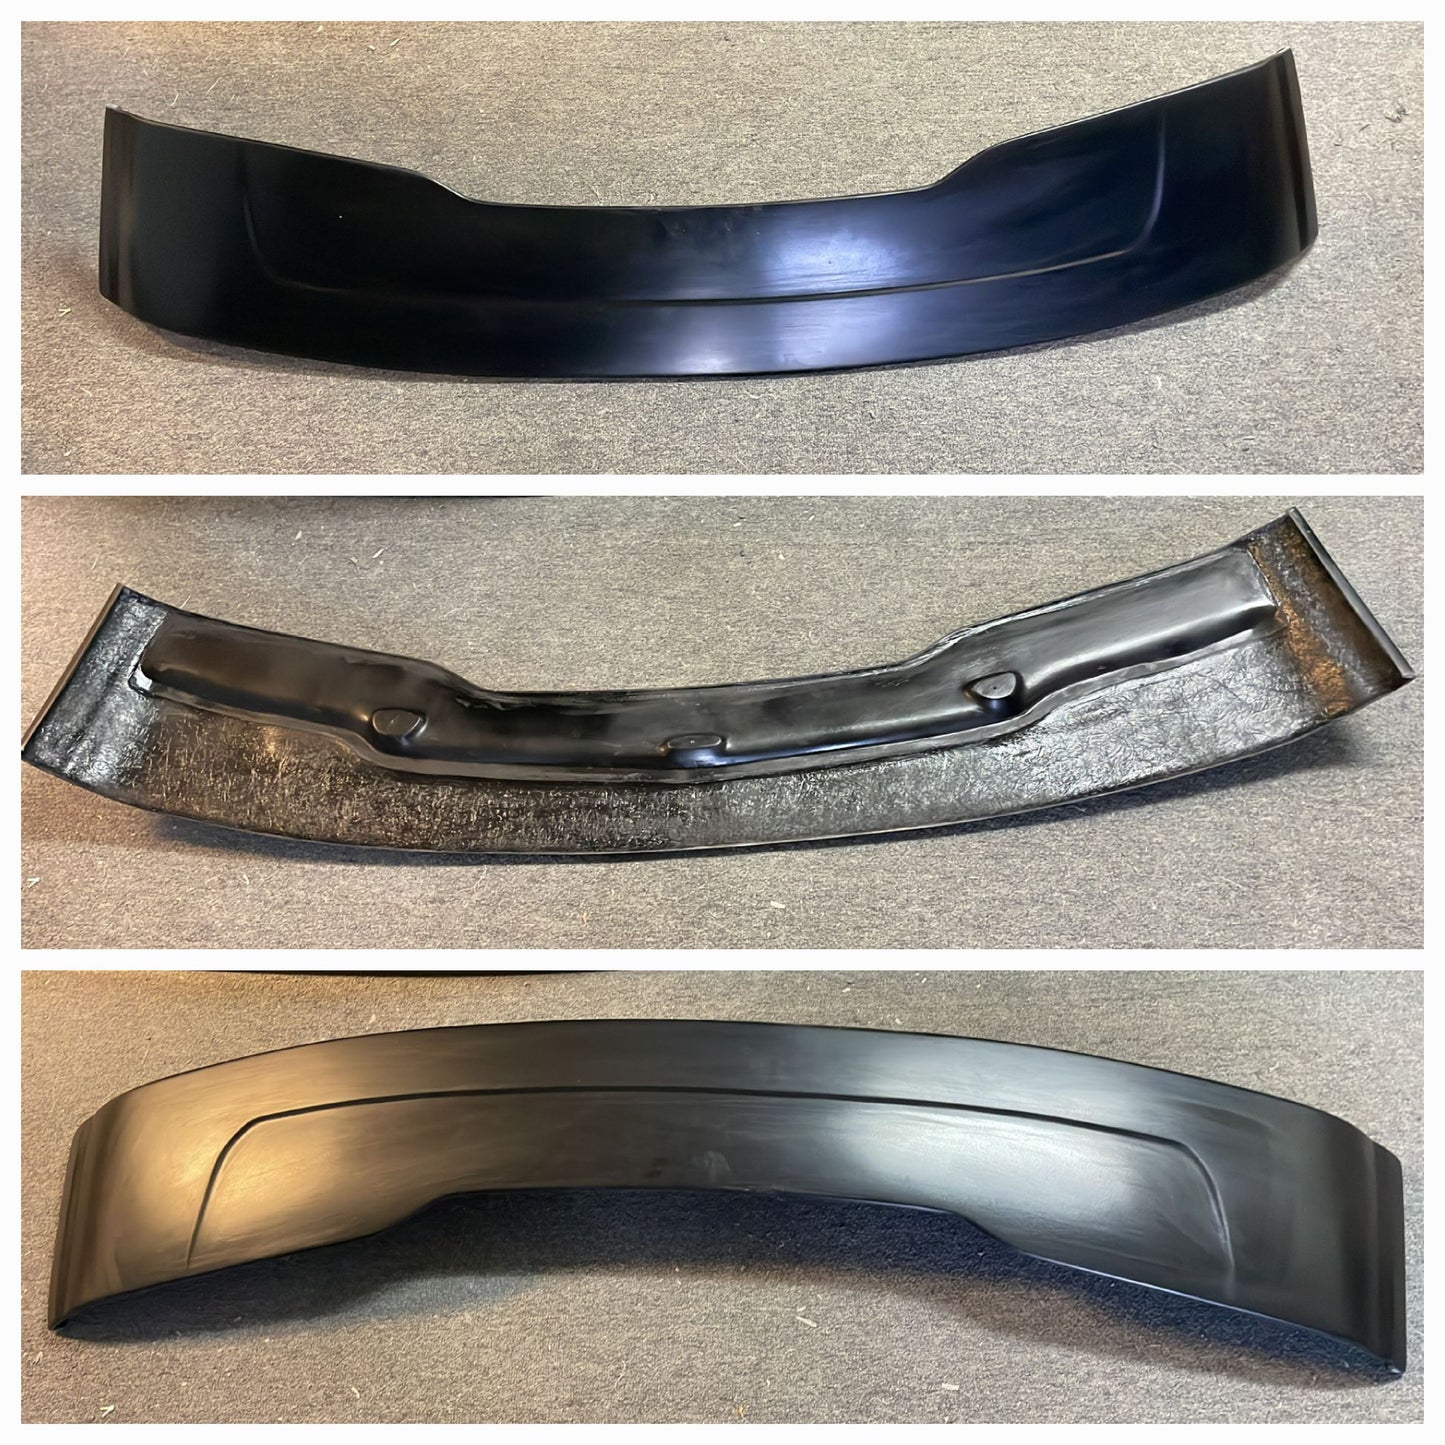
- Hand-laid fiberglass construction
- Aggressive custom appearance
- Integrated mounting brackets
- Supplied self-tapping mounting screws
- Supplied Betaseal urethane adhesive
- Designed for professional preparation and installation
- Can be prepared and painted to match your vehicle
WHAT'S INCLUDED
- Fiberglass Drop Windshield Visor
- Integrated mounting brackets
- Self-tapping mounting screws
- Betaseal urethane adhesive
IMPORTANT: FIBERGLASS PREPARATION IS REQUIRED
This visor is hand-laid fiberglass, not an injection-molded OEM plastic component. Because fiberglass is hand-produced, minor surface imperfections and variations can occur. Normal preparation should be expected before painting.
Preparation typically includes:
- Test fitting
- Checking alignment and positioning
- Checking windshield and body clearance
- Checking windshield wiper clearance
- Minor trimming if necessary for fitment
- Sanding the gel coat
- Finishing minor imperfections
- Priming
- Final sanding and preparation
- Painting
Professional body-shop preparation is recommended. If you have experience preparing fiberglass body panels, you may be comfortable handling the preparation yourself. Otherwise, we strongly recommend using a body shop experienced with fiberglass components.
TEST FIT BEFORE PAINTING
Do not paint the visor before completing the test fit.
Test fitting is used to verify:
- Overall positioning
- Alignment
- A-pillar fitment
- Any minor trimming needed for a tighter fit
- Windshield clearance
- Windshield wiper clearance
Once the visor is painted, avoid repeatedly moving it around the vehicle. Doing so can scratch the finished surface.
INSTALLATION
Professional installation is recommended. Installation requires drilling mounting holes into the A-pillars and working with a fiberglass body component.
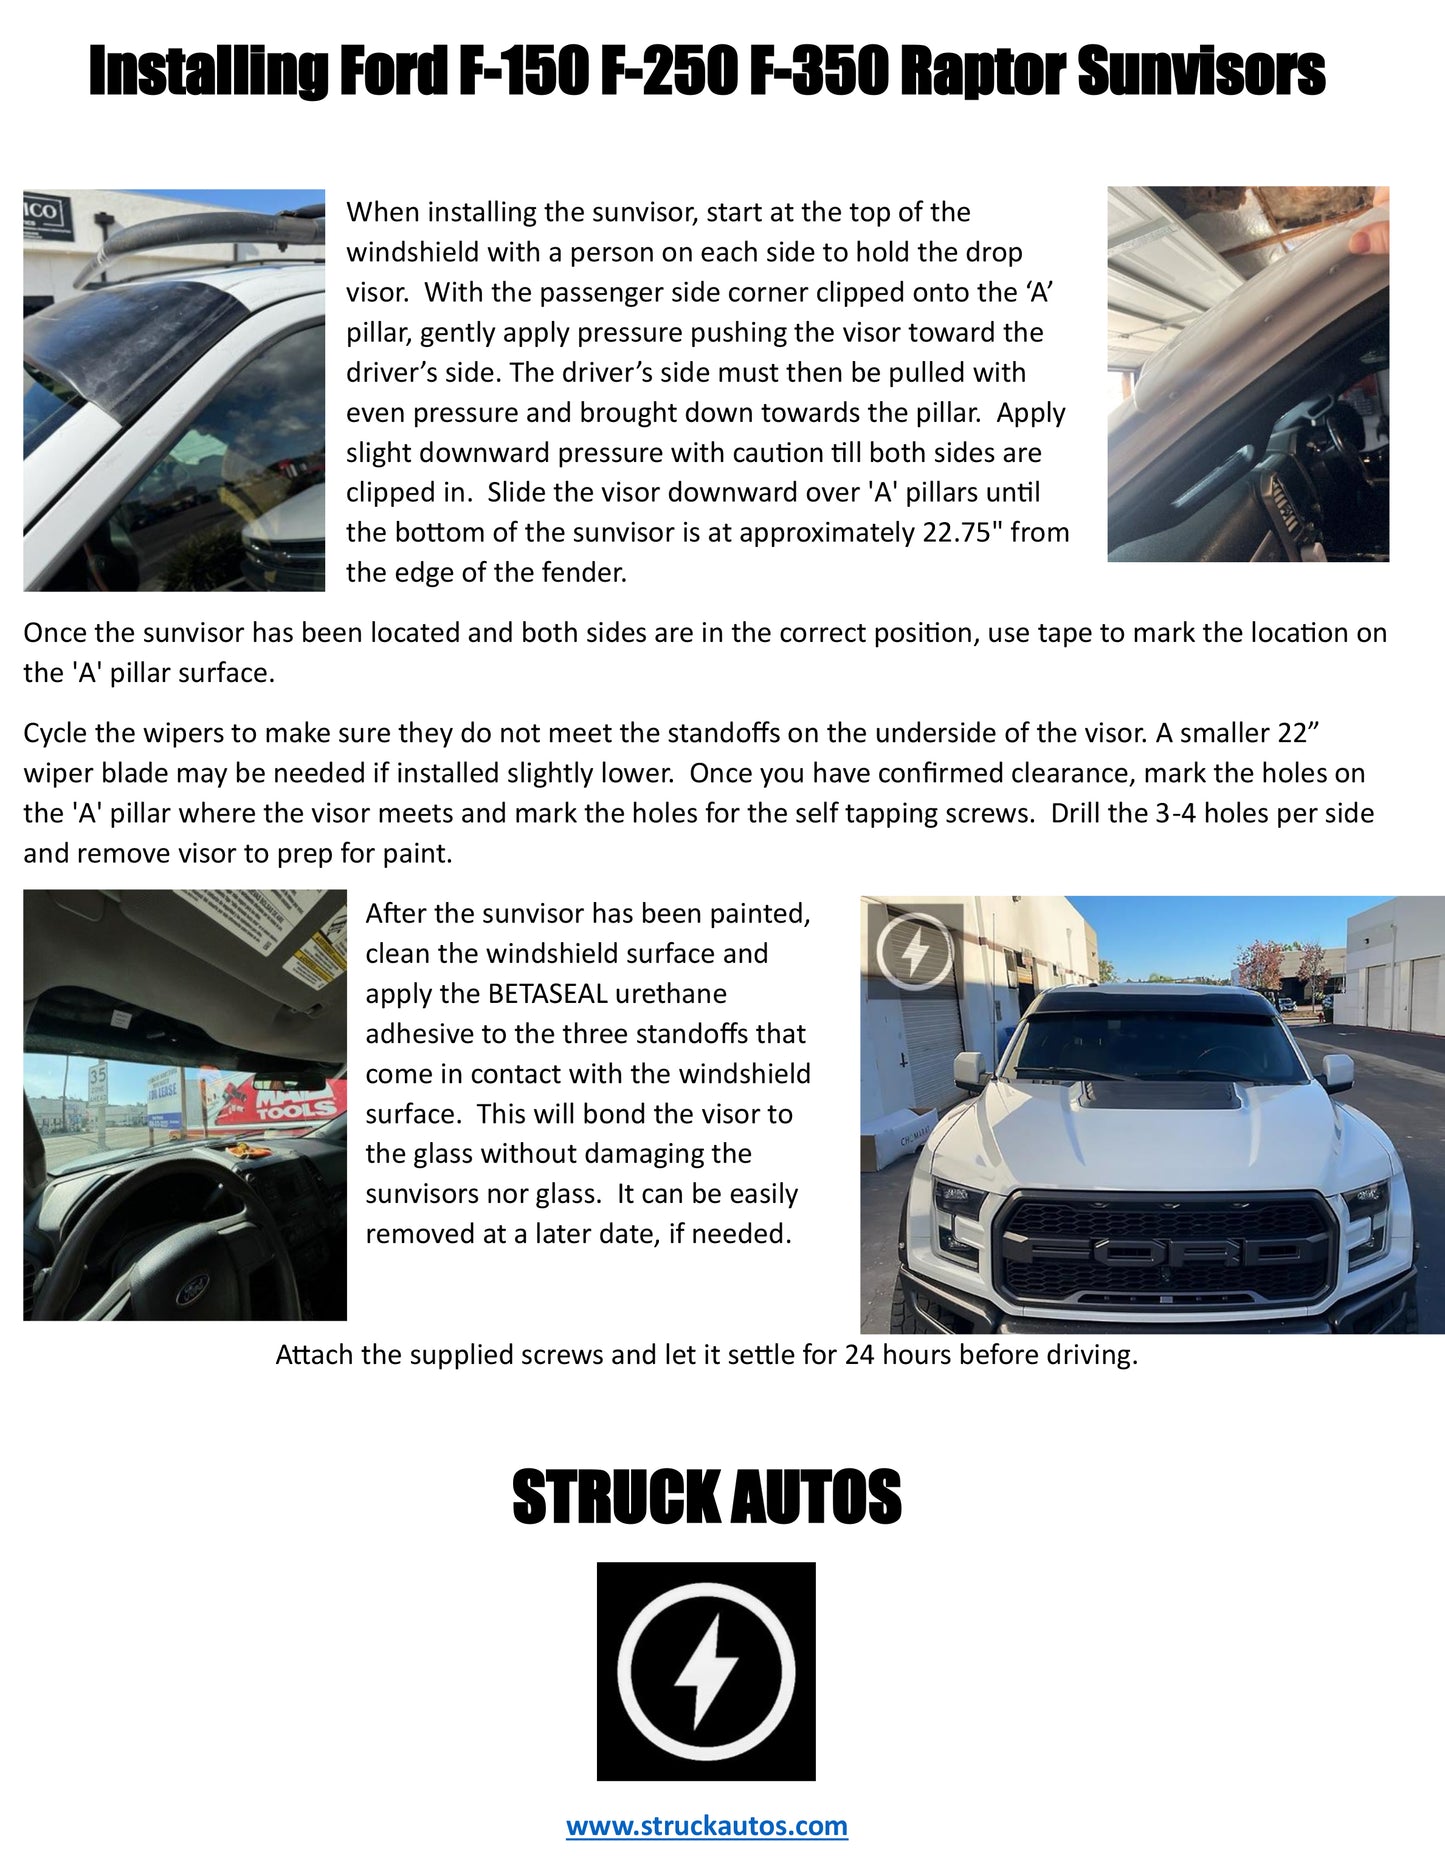
1. Position the Visor
With one person on each side, position the visor at the top of the windshield. The visor is positioned over the A-pillars and adjusted for proper alignment.
2. Check Fitment & Wiper Clearance
Verify the overall position and alignment. Check the A-pillar fit and determine whether minor trimming is necessary for the desired fitment.
Cycle the windshield wipers to ensure they do not contact the underside of the visor. A smaller wiper blade may be required if the visor is positioned slightly lower.
3. Mark & Drill
Once the visor is correctly positioned, mark the mounting locations on the A-pillars. Drilling is required for the supplied self-tapping screws.
The installation instructions call for approximately 3–4 mounting holes per side.
4. Remove & Prepare for Paint
Remove the visor and complete the required fiberglass preparation, including sanding, finishing imperfections, priming and final preparation before painting.
5. Apply Betaseal
After the visor has been painted, clean the windshield contact area. Apply the supplied Betaseal urethane adhesive to the three standoffs that contact the windshield.
The Betaseal helps bond the center portions of the visor to the windshield and helps prevent excessive vibration.
6. Secure the Visor
Reposition the visor and secure the A-pillar mounting points using the supplied self-tapping screws.
7. Allow to Settle
Allow the installation to settle for 24 hours before driving.
IMPORTANT PRODUCT EXPECTATIONS
This is a custom aftermarket fiberglass component. It is not an OEM molded plastic part and should not be expected to have the exact uniformity or finish of an OEM component.
Because the visor is hand-laid fiberglass:
- Minor surface imperfections may be present
- Minor finishing may be required
- Minor trimming may be necessary during test fitting
- Professional preparation is recommended
- Proper installation is critical to achieving the best finished appearance
If you are looking for a part that arrives ready to paint and installs without preparation or drilling, this is not that product.
FREQUENTLY ASKED QUESTIONS
Does the visor require drilling?
Yes. Installation requires drilling mounting holes into the A-pillars for the supplied self-tapping screws.
Does it come painted?
No. The fiberglass visor requires preparation, priming and painting before final installation.
Does it need to be sanded?
Yes. Because this is a hand-laid fiberglass component, sanding and finishing of the gel coat should be expected before primer and paint.
Can I install it myself?
It is possible for an experienced installer familiar with fiberglass bodywork. However, professional installation is recommended.
Does it require test fitting?
Yes. Test fitting should be completed before painting to establish proper positioning, alignment, fitment and windshield wiper clearance.
How long after installation before I can drive?
Allow the installation to settle for 24 hours before driving.
Will minor modifications be necessary?
Minor trimming may be necessary to achieve the desired fitment, and installation requires drilling the A-pillars.
BEFORE YOU ORDER — PLEASE READ
This is a fiberglass custom body component and requires professional preparation and installation.
Installation involves:
- Test fitting
- Possible minor trimming
- Fiberglass sanding and finishing
- Primer and paint
- A-pillar drilling
- Betaseal adhesive installation
- Professional fiberglass/bodywork experience recommended
- 24-hour settling period before driving
If you are not comfortable with these requirements, we strongly recommend arranging installation with an experienced fiberglass/body shop before purchasing.